Additional information
| Weight | 1.9 lbs |
|---|---|
| Dimensions | 14.5 × 10.5 × 2.5 in |
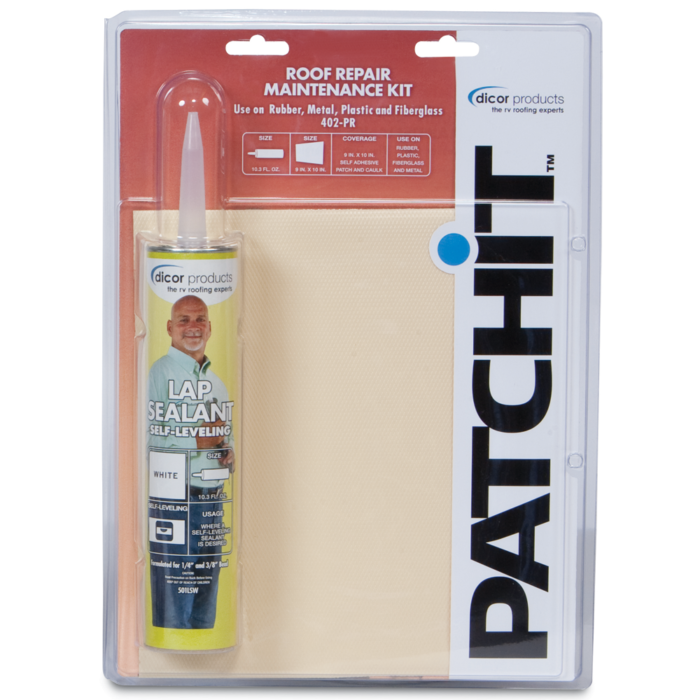
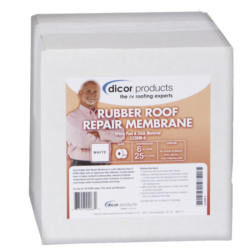
Easily repair punctures, tears and breaks that can occur in RV and manufactured housing roofs. The kit includes a 9″ x 10″ peel-and-stick EPDM rubber patch and a tube of lap sealant. This kit can be used to patch EPDM rubber, TPO plastic, PVC, metal and fiberglass roofing.
402-PR
| Weight | 1.9 lbs |
|---|---|
| Dimensions | 14.5 × 10.5 × 2.5 in |
The Patchit™ Roof Repair Patch Kit is a Peel-and-Stick EPDM Rubber Patch for the repair of holes in rubber, metal, plastic and fiberglass roofs in RV and Mobile Home applications. The hole to be repaired must be with in a structurally sound and functional roof. The hole must not run into a vent, air conditioner, skylight or other rooftop penetration.
Instructions:
1. Inspect the roof for structural and functional soundness.
2. Inspect the area of repair:
a. Patch must extend 2˝ beyond hole in all directions.
b. Do not attempt to use multiple patches for one repair.
c. Patch cannot be used over previous repair or coating.
d. Trim any loose or protruding roofing from repair area with shears.
3. Lay patch on area to be repaired, center and mark edges with chalk or pencil. Patch can be cut to smaller size as long as 2˝ overlap in maintained. Note: Do not remove any backing or protective liner from patch until instructed.
4. Clean area of repair with hot water, mild detergent and stiff bristled scrub brush. Clean at least 2˝ beyond area marked for patch. Rinse thoroughly with clean water. Consult with roofing material manufacturer for proper cleaning method. It is very important to remove all dirt, debris, dust, grease, oil and loose paint.
5. Dry the clean area.
6. Lay the patch over repair area and remark location with pencil if necessary.
7. Peel the smooth plastic sheet backing from the gray or black adhesive side of the patch and position patch over repair using pencil marks as guide. Apply carefully. Patch cannot be repositioned once contact is made with the roof.
8. Remove diamond textured protective liner from top surface of the patch.
9. Using the heel of the hand, steel or plastic roller, press patch onto roof and smooth from center toward edges. Be sure the entire surface is tightly mated to the substrate.
10. Open Dicor Lap Sealant from kit. Apply a 5/16˝ bead of sealant to the entire edge of the patch.
11. Cut out the trowel from the back of the plastic packaging shell. Position notch over sealant edge and smooth sealant along the edge of patch. Patch should be allowed to sit for two hours before moving vehicle.
Precautions: This kit includes a cartridge of sealant containing solvent (read all instructions and warnings on the sealant prior to use).
Warning. Flammable liquid and vapor. Vapor may cause flash fire.
Harmful if swallowed or inhaled. Causes eye irritation. May cause skin irritation. Do not use sealant as splicing cement between roof and repair patch.
Shelf life of product is 12 months when stored at 60-80ºF (15-27ºC). This product is intended for repair of rubber, metal, plastic and fiberglass in the field of roof. Leakage or failure of the roof at a vent or air conditioner must be repaired as instructed by the manufacturer of the roofing system. This product is not for use on roofing systems with a manufacturer’s warranty. Please consult roofing system manufacturer.
For installation in cool temperatures (below 60ºF), keep patch material and sealant/caulk at room temperature until needed. Elevating the temperature of the patch and/or substrate will enhance the initial tack and bond strength of the patch material. DO NOT use an open flame or extreme heat.
Click here for downloadable MSDS sheet for 501LSW.